Have a Massage At Your Fingertips With DIY Massage Candles
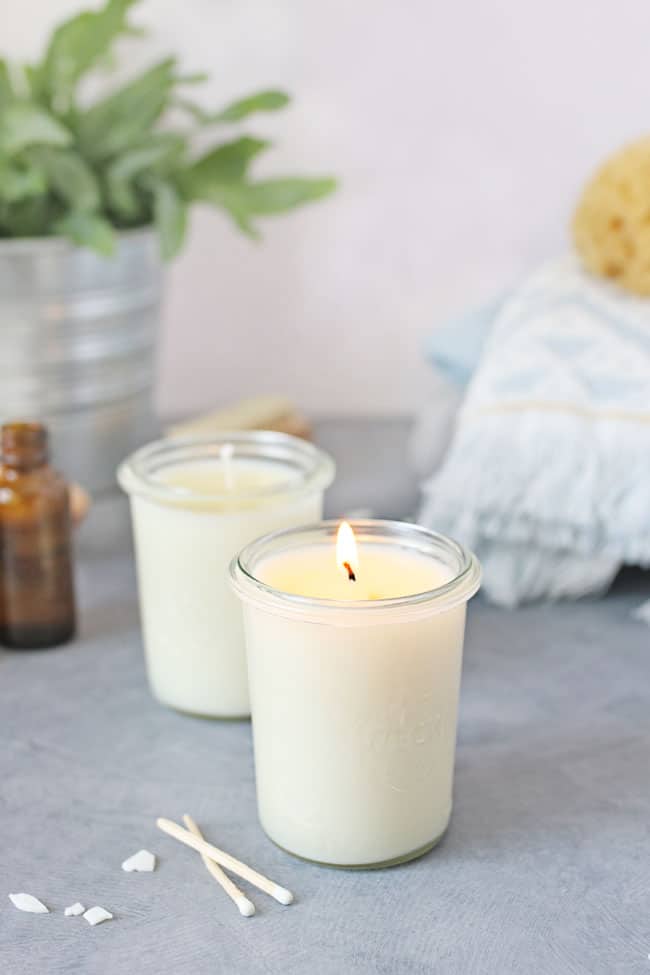
For the price of a massage at the spa, you could instead invest in quite a few high-quality essential oils. You’ll then be ready to use this recipe to make tranquil, soothing, yummy-smelling DIY massage candles to have at your fingertips whenever you want a relaxing massage.
A combination of soy wax and other skin-soothing oils, massage candles melt easily, and the wax is cool enough to pour right on your skin for a soothing, spa-like treatment.

Jump to:
Benefits of a Candle Massage
Unlike some other massages, using a candle incorporates heat into the massage process. This helps to:
- soothe muscles
- relax the nervous system
- ease tension and pain
- release the aromatherapy benefits of your essential oils
And while you might be thinking that candle wax is too hot to apply directly to skin, soy wax melts at a lower temperature than others, so it never really gets hot enough to do serious damage.
With soy wax, you can let it cool until it reaches a comfortable temperature (this usually takes just a couple of minutes). And then apply it to skin just like you would a lotion, to lock in moisture and nourish dry skin.
Massage Candle Supplies
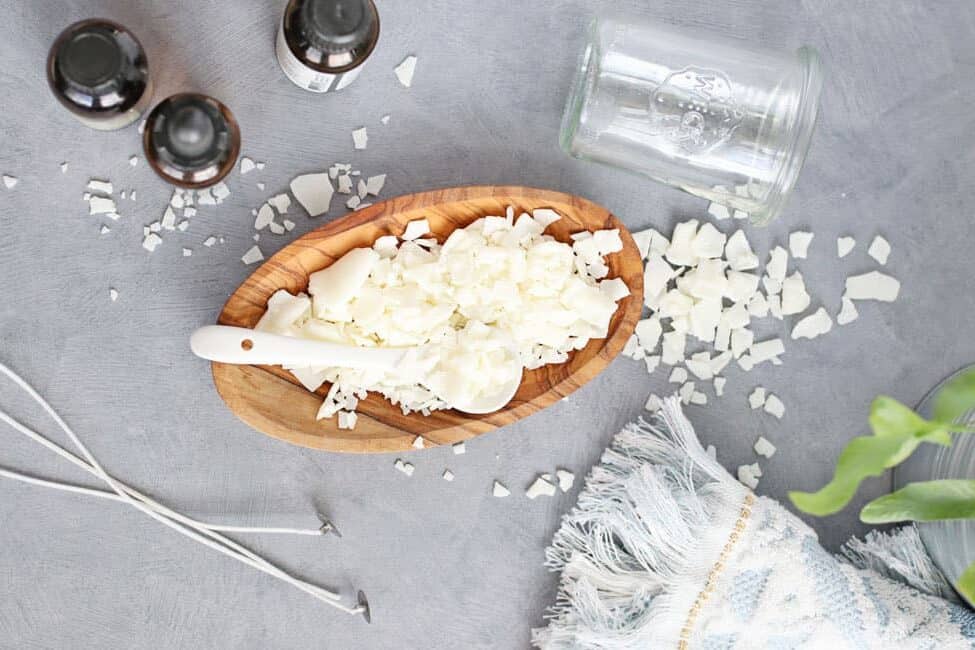
The process of making massage candles is similar to that of other types of homemade candles. Just make sure to choose skin-safe essential oils and, if you’re sensitive to heat, allow plenty of time for the wax to cool before applying.
Here’s how we made ours:
A common ratio is around 1 part soy wax to 1 part carrier oil.
How to Make DIY Massage Candles
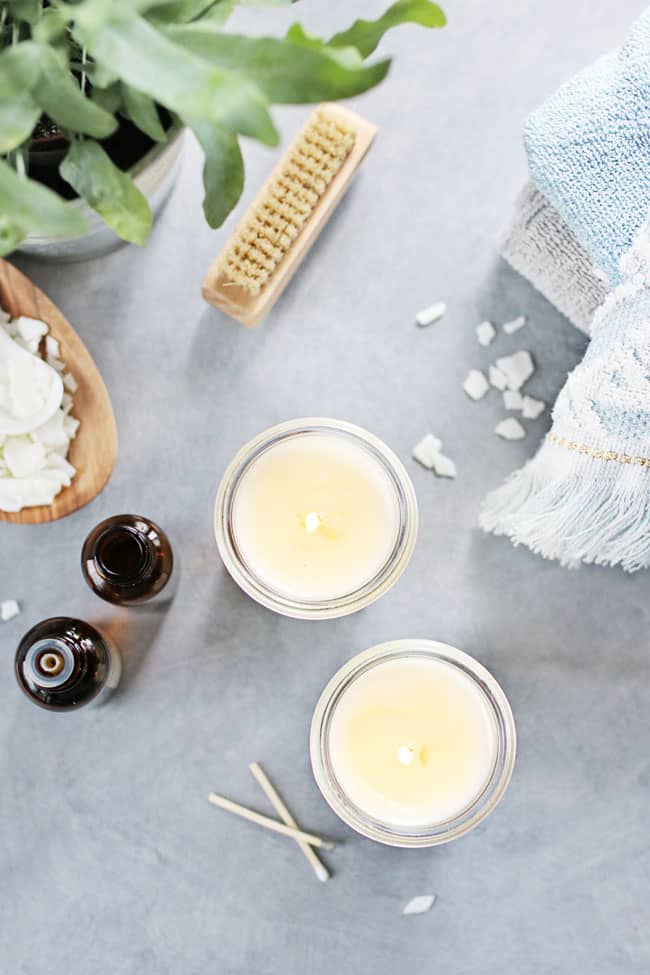
Step 1 | Melt wax
Measure out 1–2 cups of soy wax flakes and melt in a microwave-safe glass. My wax took about 90 seconds to melt completely, but your time may vary.
Step 2 | Attach wick
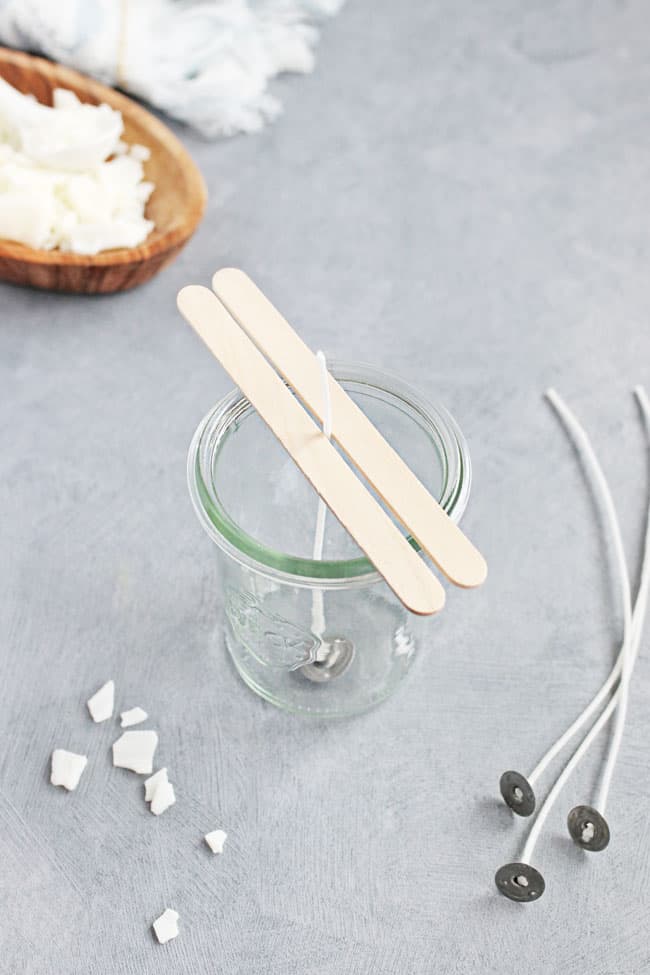
While the wax is melting, place the wick in your candle jar. Keep the wick straight by placing popsicle sticks on each side of the wick.
Step 3 | Add carrier oil
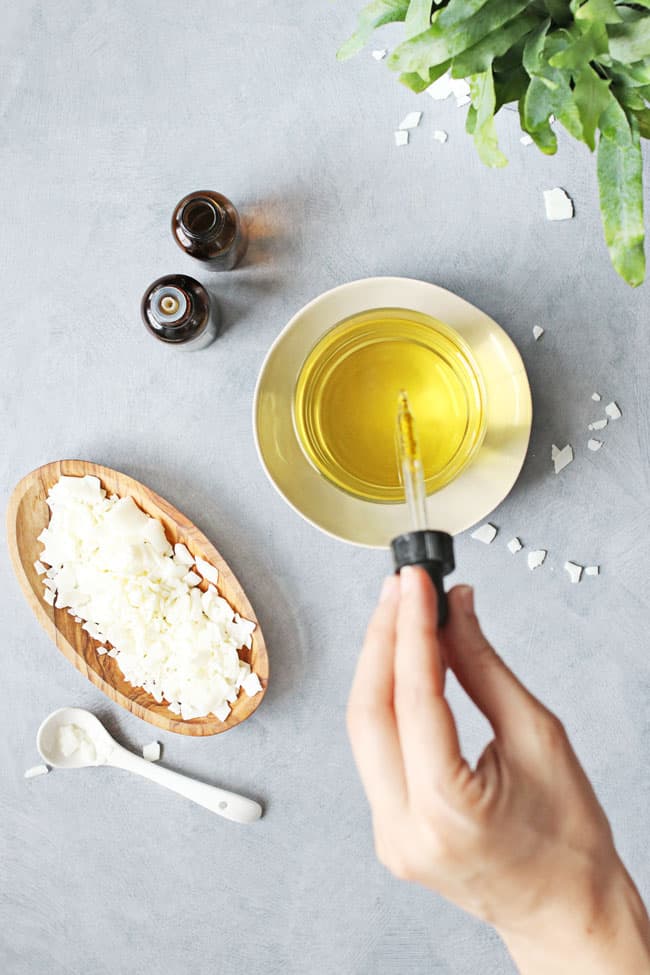
Once the soy wax is fully melted, let it cool slightly and add your chosen carrier oil. Stir the mixture thoroughly to combine the wax and oil. The ratio of wax to oil can be adjusted based on your preference for a softer or firmer massage oil.
Step 4 | Add essential oil
Add your chosen essential oils for fragrance and potential therapeutic benefits. Add 30-50 drops of essential oil per ounce of carrier oil and wax. Stir well to evenly distribute the scent.
Step 5 | Pour and harden
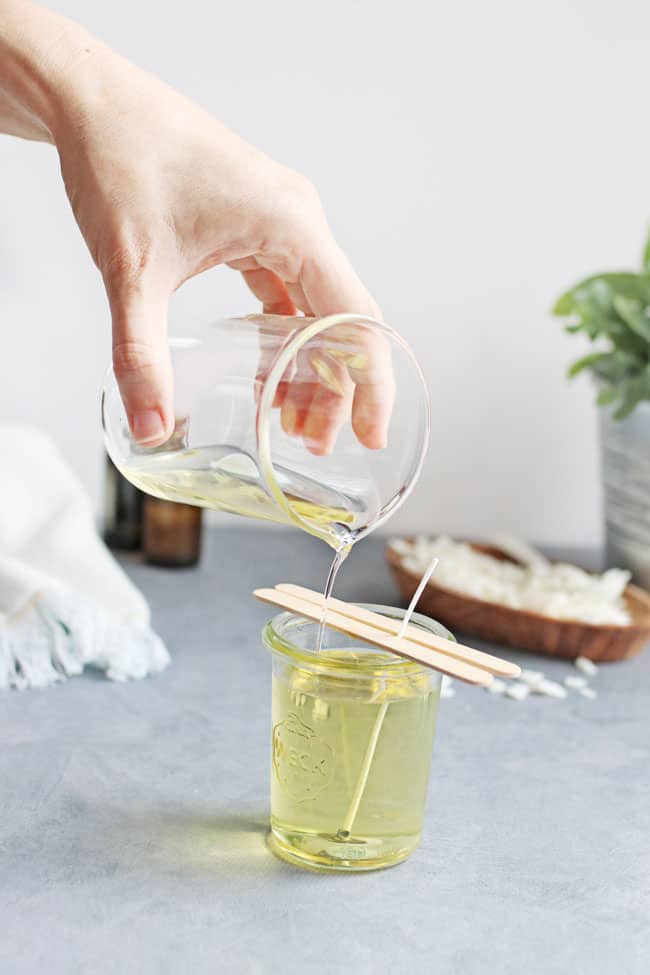
Carefully pour your mixture into the jar and let it set up for an hour or two. (If your wick moves while you’re pouring the wax, simply re-center it before the wax hardens.)
Let the candle cool completely then trim the wick.
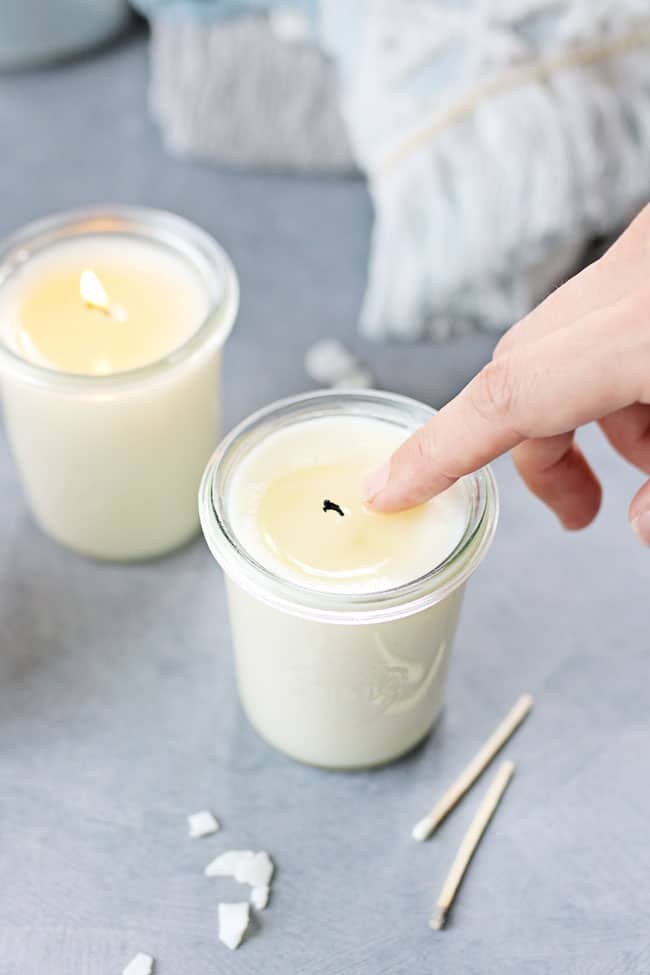
Step 6 | Use for massage
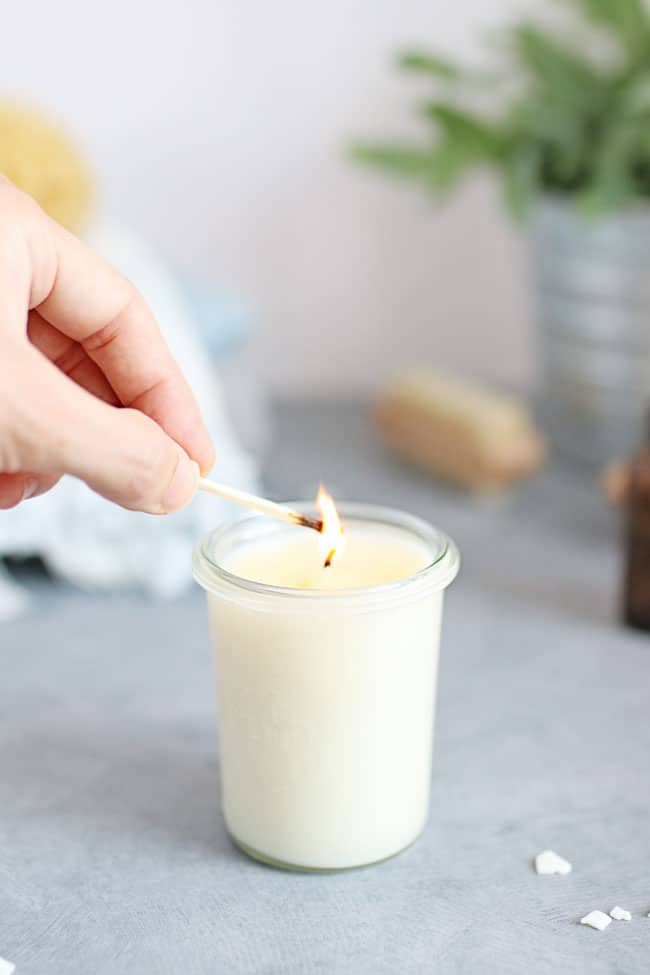
Light your massage candle and let burn for 15–20 minutes, allowing a small pool of wax to form around the wick. Blow out flame and let cool for several minutes.
Pour the wax into your hand, or dip the tips of your fingers in the wax, and massage it into the skin.
Essential Oil Blends for Massage Candles
Customize your DIY massage candles by adding your favorite combinations of essential oils. I love using woodsy oils like cedarwood as a base and adding in a few drops of citrus oil, like clementine, just to keep things interesting.
For calming candles:
Use oils such as ylang ylang, chamomile, lavender, clary sage, cedarwood.
For stress-relieving candles:
Use oils such as frankincense, rose, nutmeg, and chamomile.
How to Use Massage Candles

Light the Candle: Light your massage candle and let burn for 15–20 minutes, allowing a small pool of wax to form around the wick.
Extinguish Flame: Blow out the flame and let the wax cool for several minutes.
Pour Warm Oil: Once the oil is warm but not too hot, use a spoon or pour a small amount onto the skin. You can also pour the wax into your hand, or dip the tips of your fingers in the wax.
Massage Warm Oil: Massage the skin, as usual, working the wax into skin like you would with massage oil or lotion.
FAQ
Soy wax is specifically chosen because it has a relatively low melting point, which means that it won’t burn you if used properly. It also behaves more like an oil than a wax when used on skin.
Paraffin wax also has a pretty low melting point, which is why it’s often used in spa treatments (but a lot of wellness folks don’t like paraffin because it can release toxic fumes when burned).
If you want to experiment with using other waxes, that’s up to you. But I would stay away from using beeswax or straight coconut oil because both of those can get hot enough to cause serious burns.
I wouldn’t recommend it because combining cologne with wax and then exposing it to an open flame could change the chemical composition or release hazardous vapors into the air. It’s best to stick with all-natural essential oils.
You can add a tablespoon of cocoa butter, shea butter, or even coconut oil to give your candles a more lotion-like consistency. Just make sure to use those ingredients in moderation, or you run the risk of degrading your candle’s consistency and affecting the melting point.
No, they shouldn’t! Always let the wax cool slightly, and be sure to test the temperature on your wrist or inner arm before applying to a larger patch of skin.
That’s a personal choice. The oils are full of skin-soothing vitamins and humectants, which will leave your skin feeling soft and moisturized if left on. But if the thought of being slathered in oil makes you feel gross, then yes, go ahead and give yourself a quick rinse.
Want to skip the candles but keep the massage?
Try making your own massage oil with these 10 essential oil blends.
DIY Vegan Massage Candles
These tranquil, soothing, yummy-smelling DIY massage candles made from soy wax will let you have a massage at your fingertips any time you want.
Yield: 1 candle
Cost: $5
Instructions
-
Measure out 1–2 cups of soy wax flakes, and melt in a microwave-safe glass. My wax took about 90 seconds to melt completely, but each microwave is different, so your time may vary.
-
While the wax is melting, place the wick in your candle jar. Be sure the wick is straight and that the tab is pressed to the bottom. Help keep it in place by placing popsicle sticks horizontally across the top of the glass on each side of the wick.
-
Let it cool slightly before adding your jojoba oil, vitamin E, and essential oils. Stir well.
-
Carefully pour your mixture into the jar, and let it set up for an hour or so. Once the candle wax becomes solid, trim the wick.
Notes
Use oils such as ylang ylang, chamomile, lavender, sage, and cedarwood.
For stress-relieving candles:
Use oils such as anise, rose otto, nutmeg, sweet almond, lavender, marjoram, and chamomile.
Light the candle and let burn for 15–20 minutes, allowing a small pool of wax to form around the wick. Blow out the flame and let cool for several minutes. Test the temperature on your wrist or inner arm, then carefully pour the wax into your hand and massage into the skin.
This article was medically reviewed by Dr. Gina Jansheski, a licensed, board-certified physician who has been practicing for more than 20 years. Learn more about Hello Glow’s medical reviewers here. As always, this is not personal medical advice and we recommend that you talk with your doctor.
Photos by Stephanie Pollard
Want to make even more candles for your home? Try these tutorials for homemade candles:


